What is an Orrery?
What is an Orrery?
Orreries were originally called a planetariums and are a mechanical model of the solar system. They consist of small globes that represent the planets as viewed from outside the solar system and are used to demonstrate the movement of the Earth and Moon around the Sun. Whilst orreries can be accurate at demonstrating the rotation of planets they are not to scale.
They became popular in the 17th century especially after Sir Isaac Newton published his universal theory of gravity in 1687. This was a time of great discovery when men strove to understand the world and universe around them.
The orrery takes it name from Charles Boyle, the fourth Earl of Orrery. The London instrument maker John Rowley made the first modern orrery for him in around 1713, although other planetariums did exist before this.
Many orreries were owned by the wealthy to demonstrate their intelligence and modernity. They were one of the first ways that scientific discoveries could be shared with the masses through public demonstrations and lectures.
The Orrery you see in this video was made in the early 20th century by Philip Son & Nephew Ltd of Liverpool. It was originally powered by clockwork but has been adapted to run on an electric motor in the Victorian Gallery at Salford Museum and Art Gallery.
Make Your Own Model of the Solar System
You will need
Polystyrene or paper Balls (tip if you can get different sized balls you can use match them to the different sized planets)
A large piece of paper for the background (space)
Thin card (looks great if this matches the background)
Split pins
Felt tips
Scrap cardboard
Scissors
Card scarps for The sun and Saturn’s rings
Something sticky (double sided sticky tabs or glue stick)
Optional – extra star stickers, labels for planets names
Step One - Make the Planets
Select 8 balls for your planets
And add colour
Mercury
Venus
Earth
Mars
Jupiter
Saturn
Uranus
Neptune

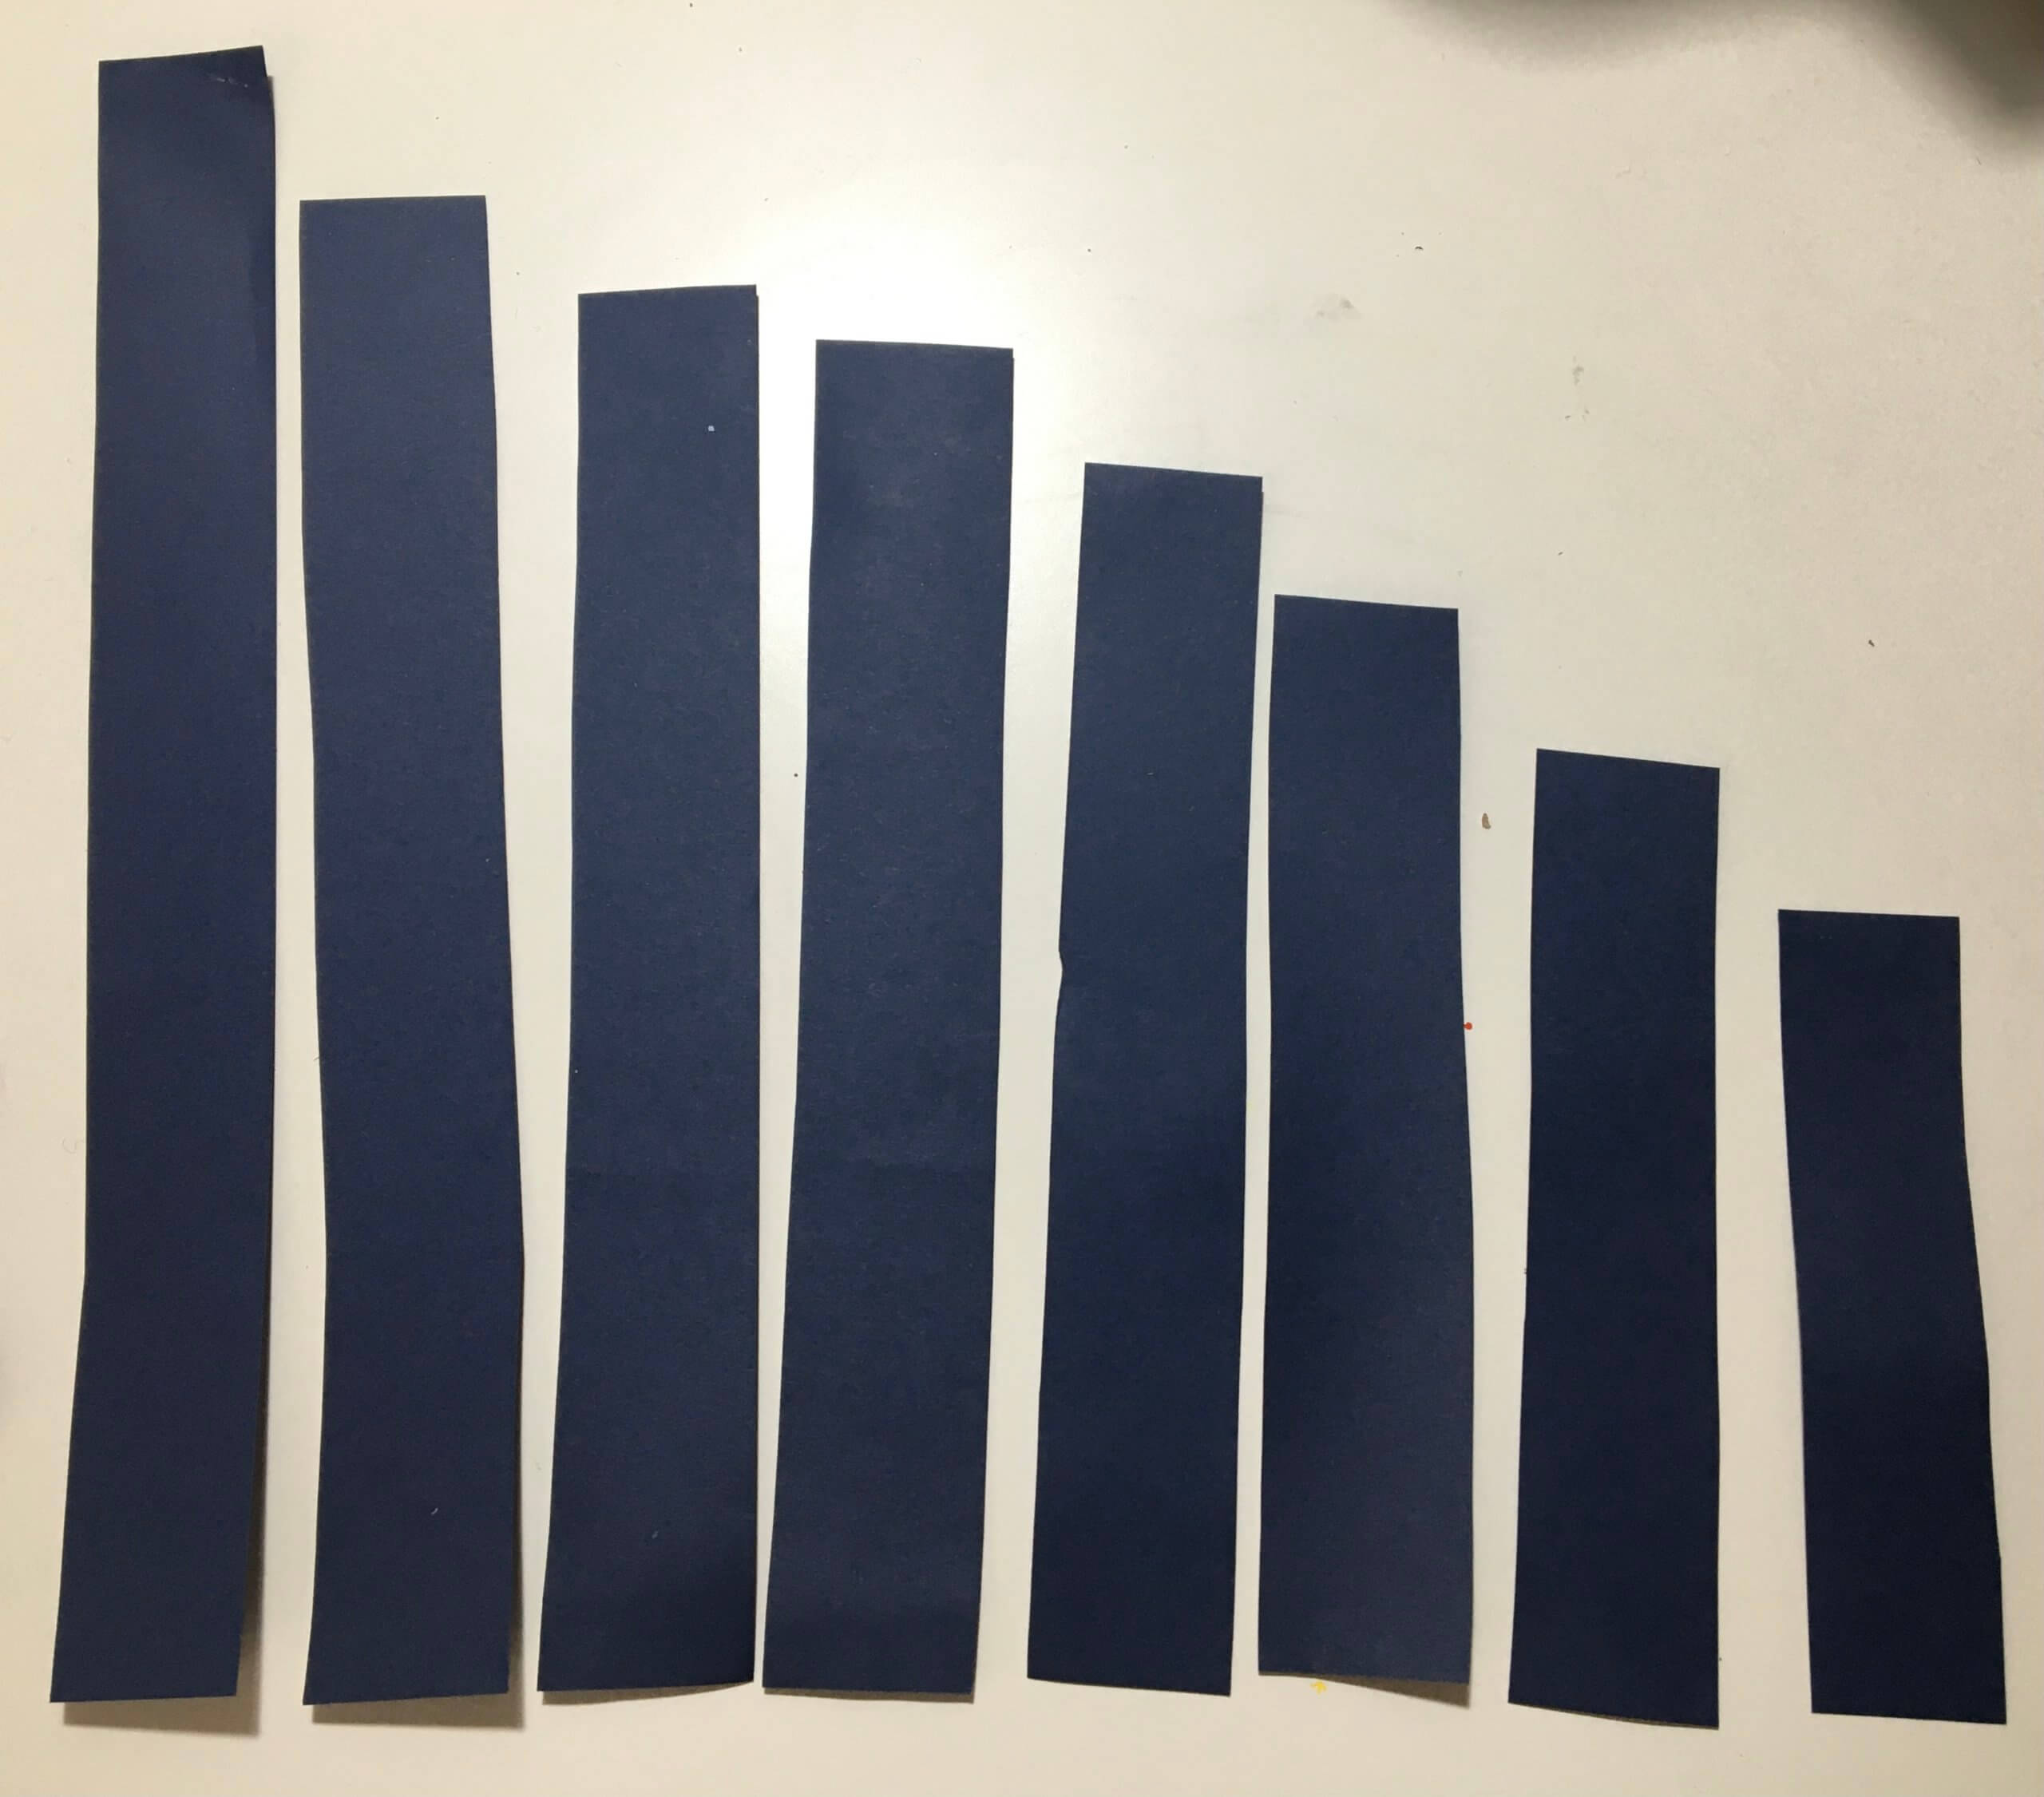
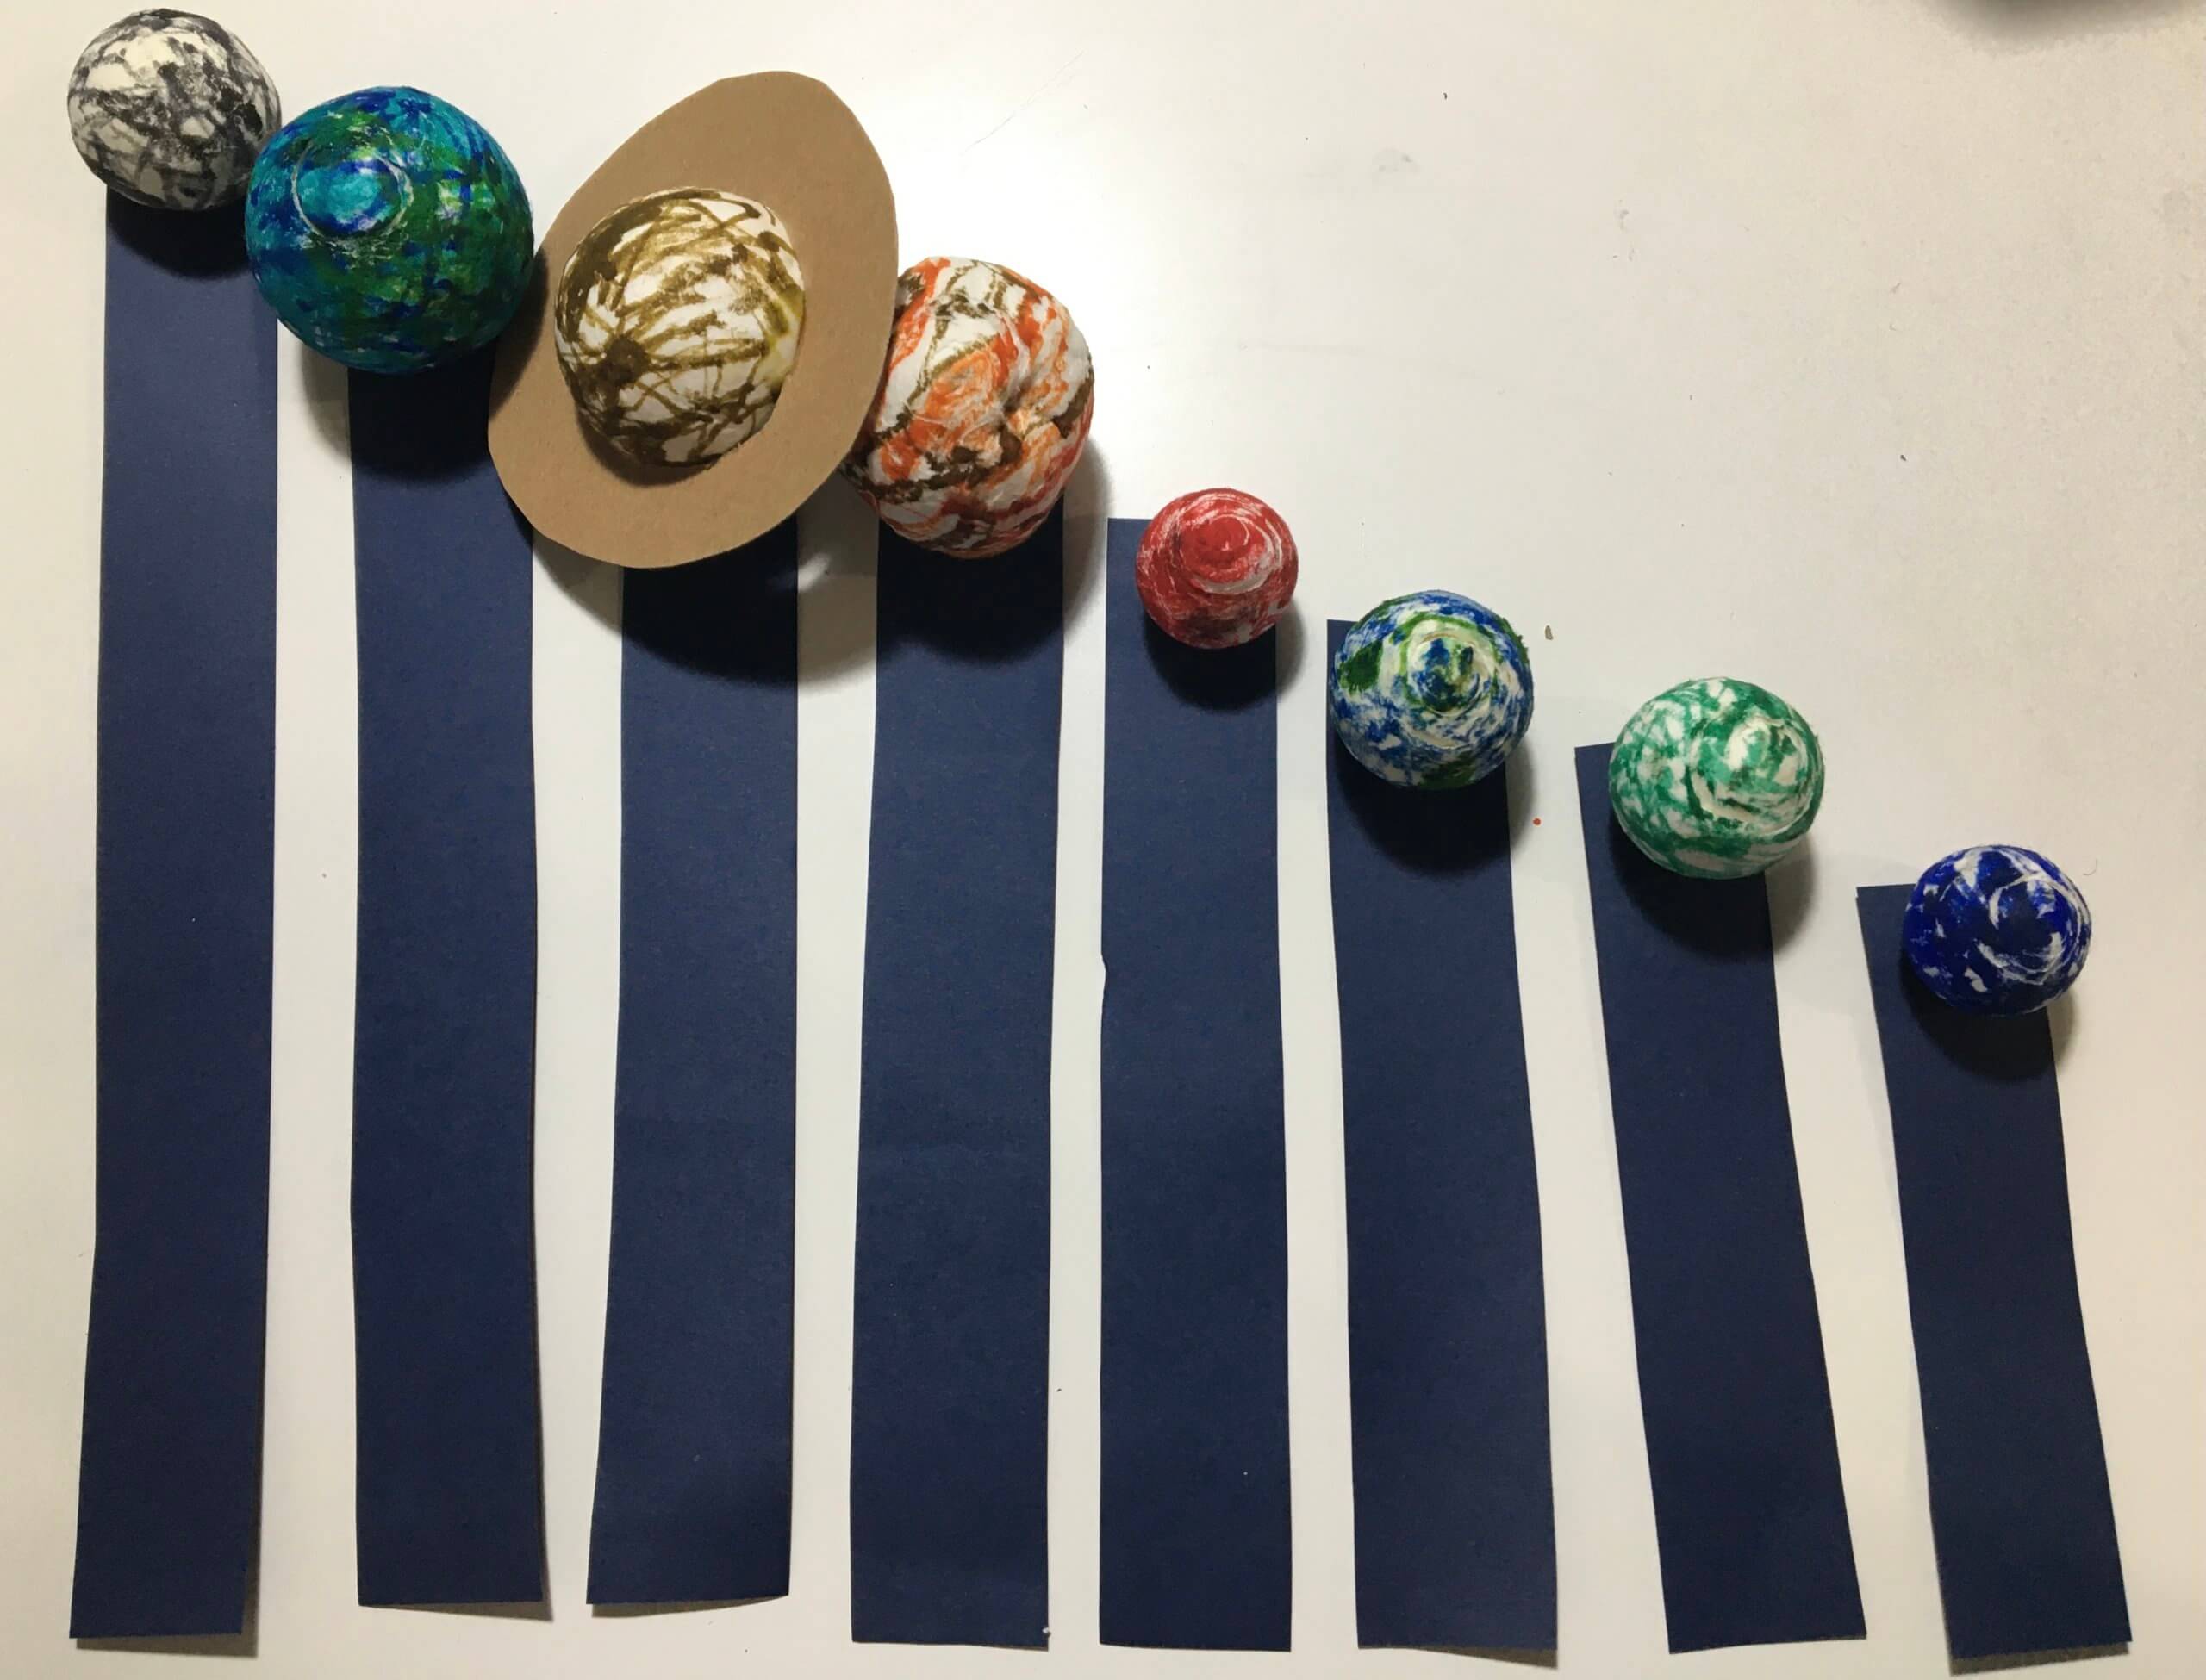
Step Two - Make the Supports
Cut 8 strips of card one for each of the planets
You need to then out them to different lengths as shown
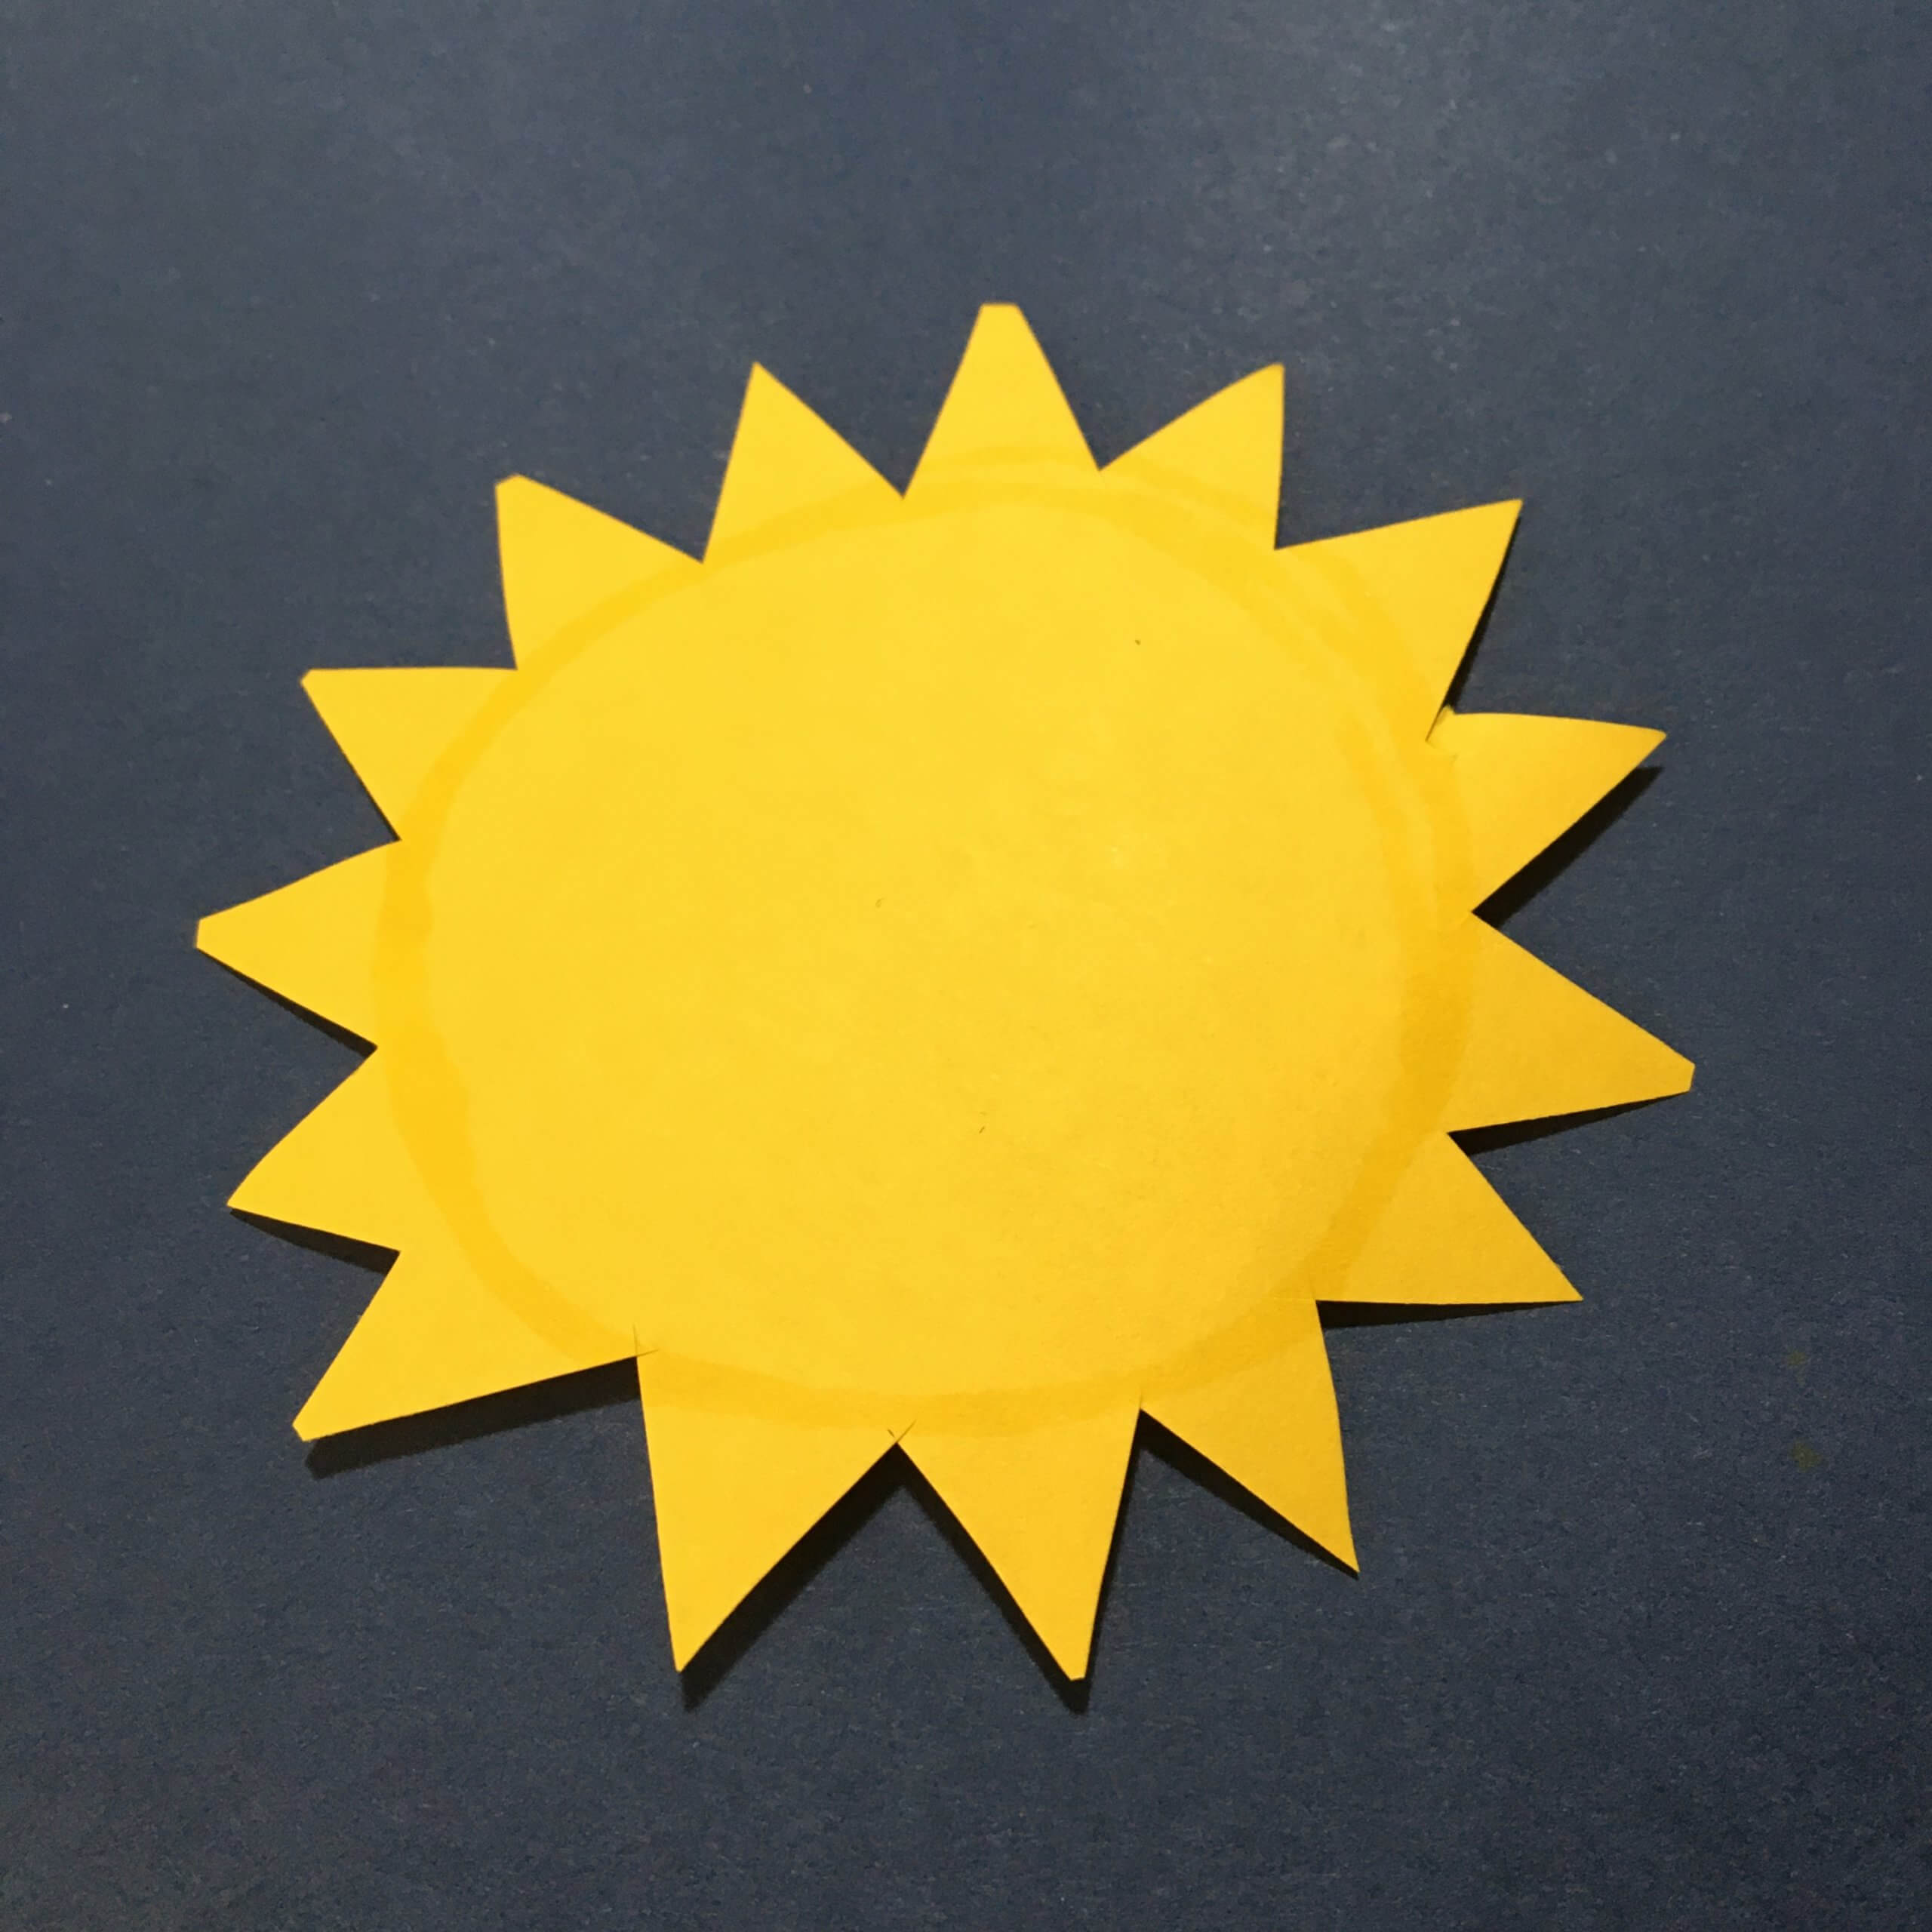
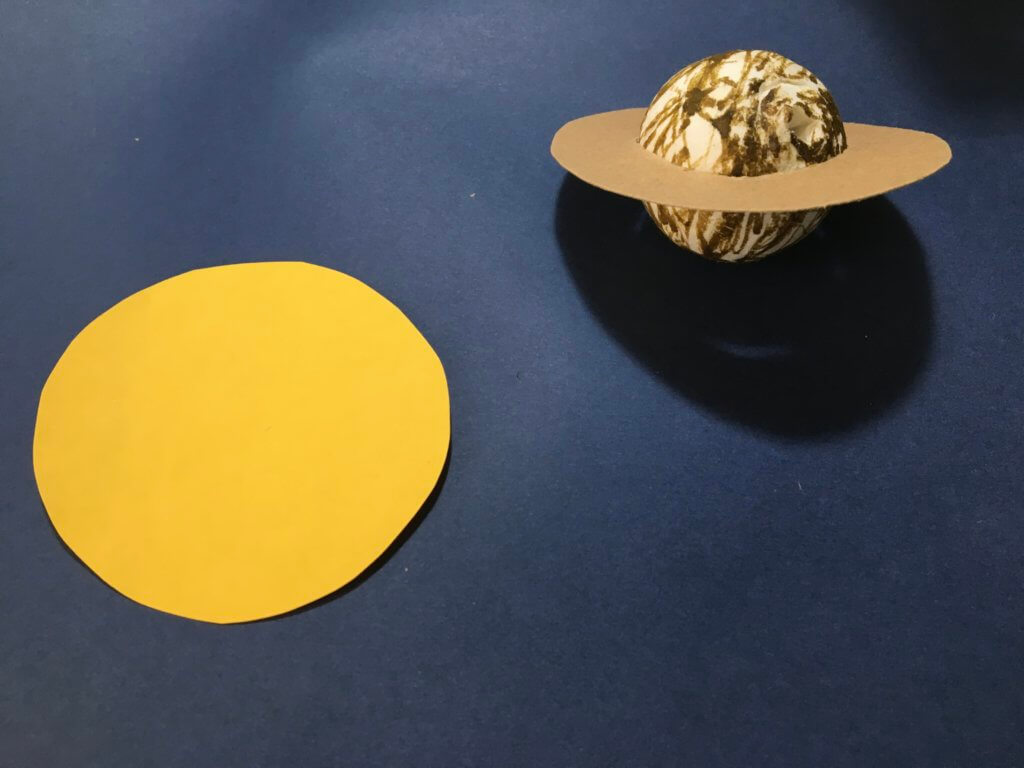
Step Three - The sun and Saturn's rings
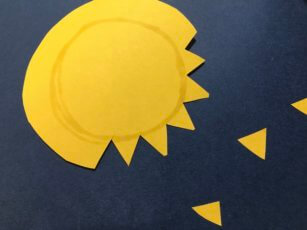
Cut the sun out – a great way to make a sun shape is to cut a rough circle and then cut little triangles into it.
Also use a scrap bit of card to add rings to Saturn


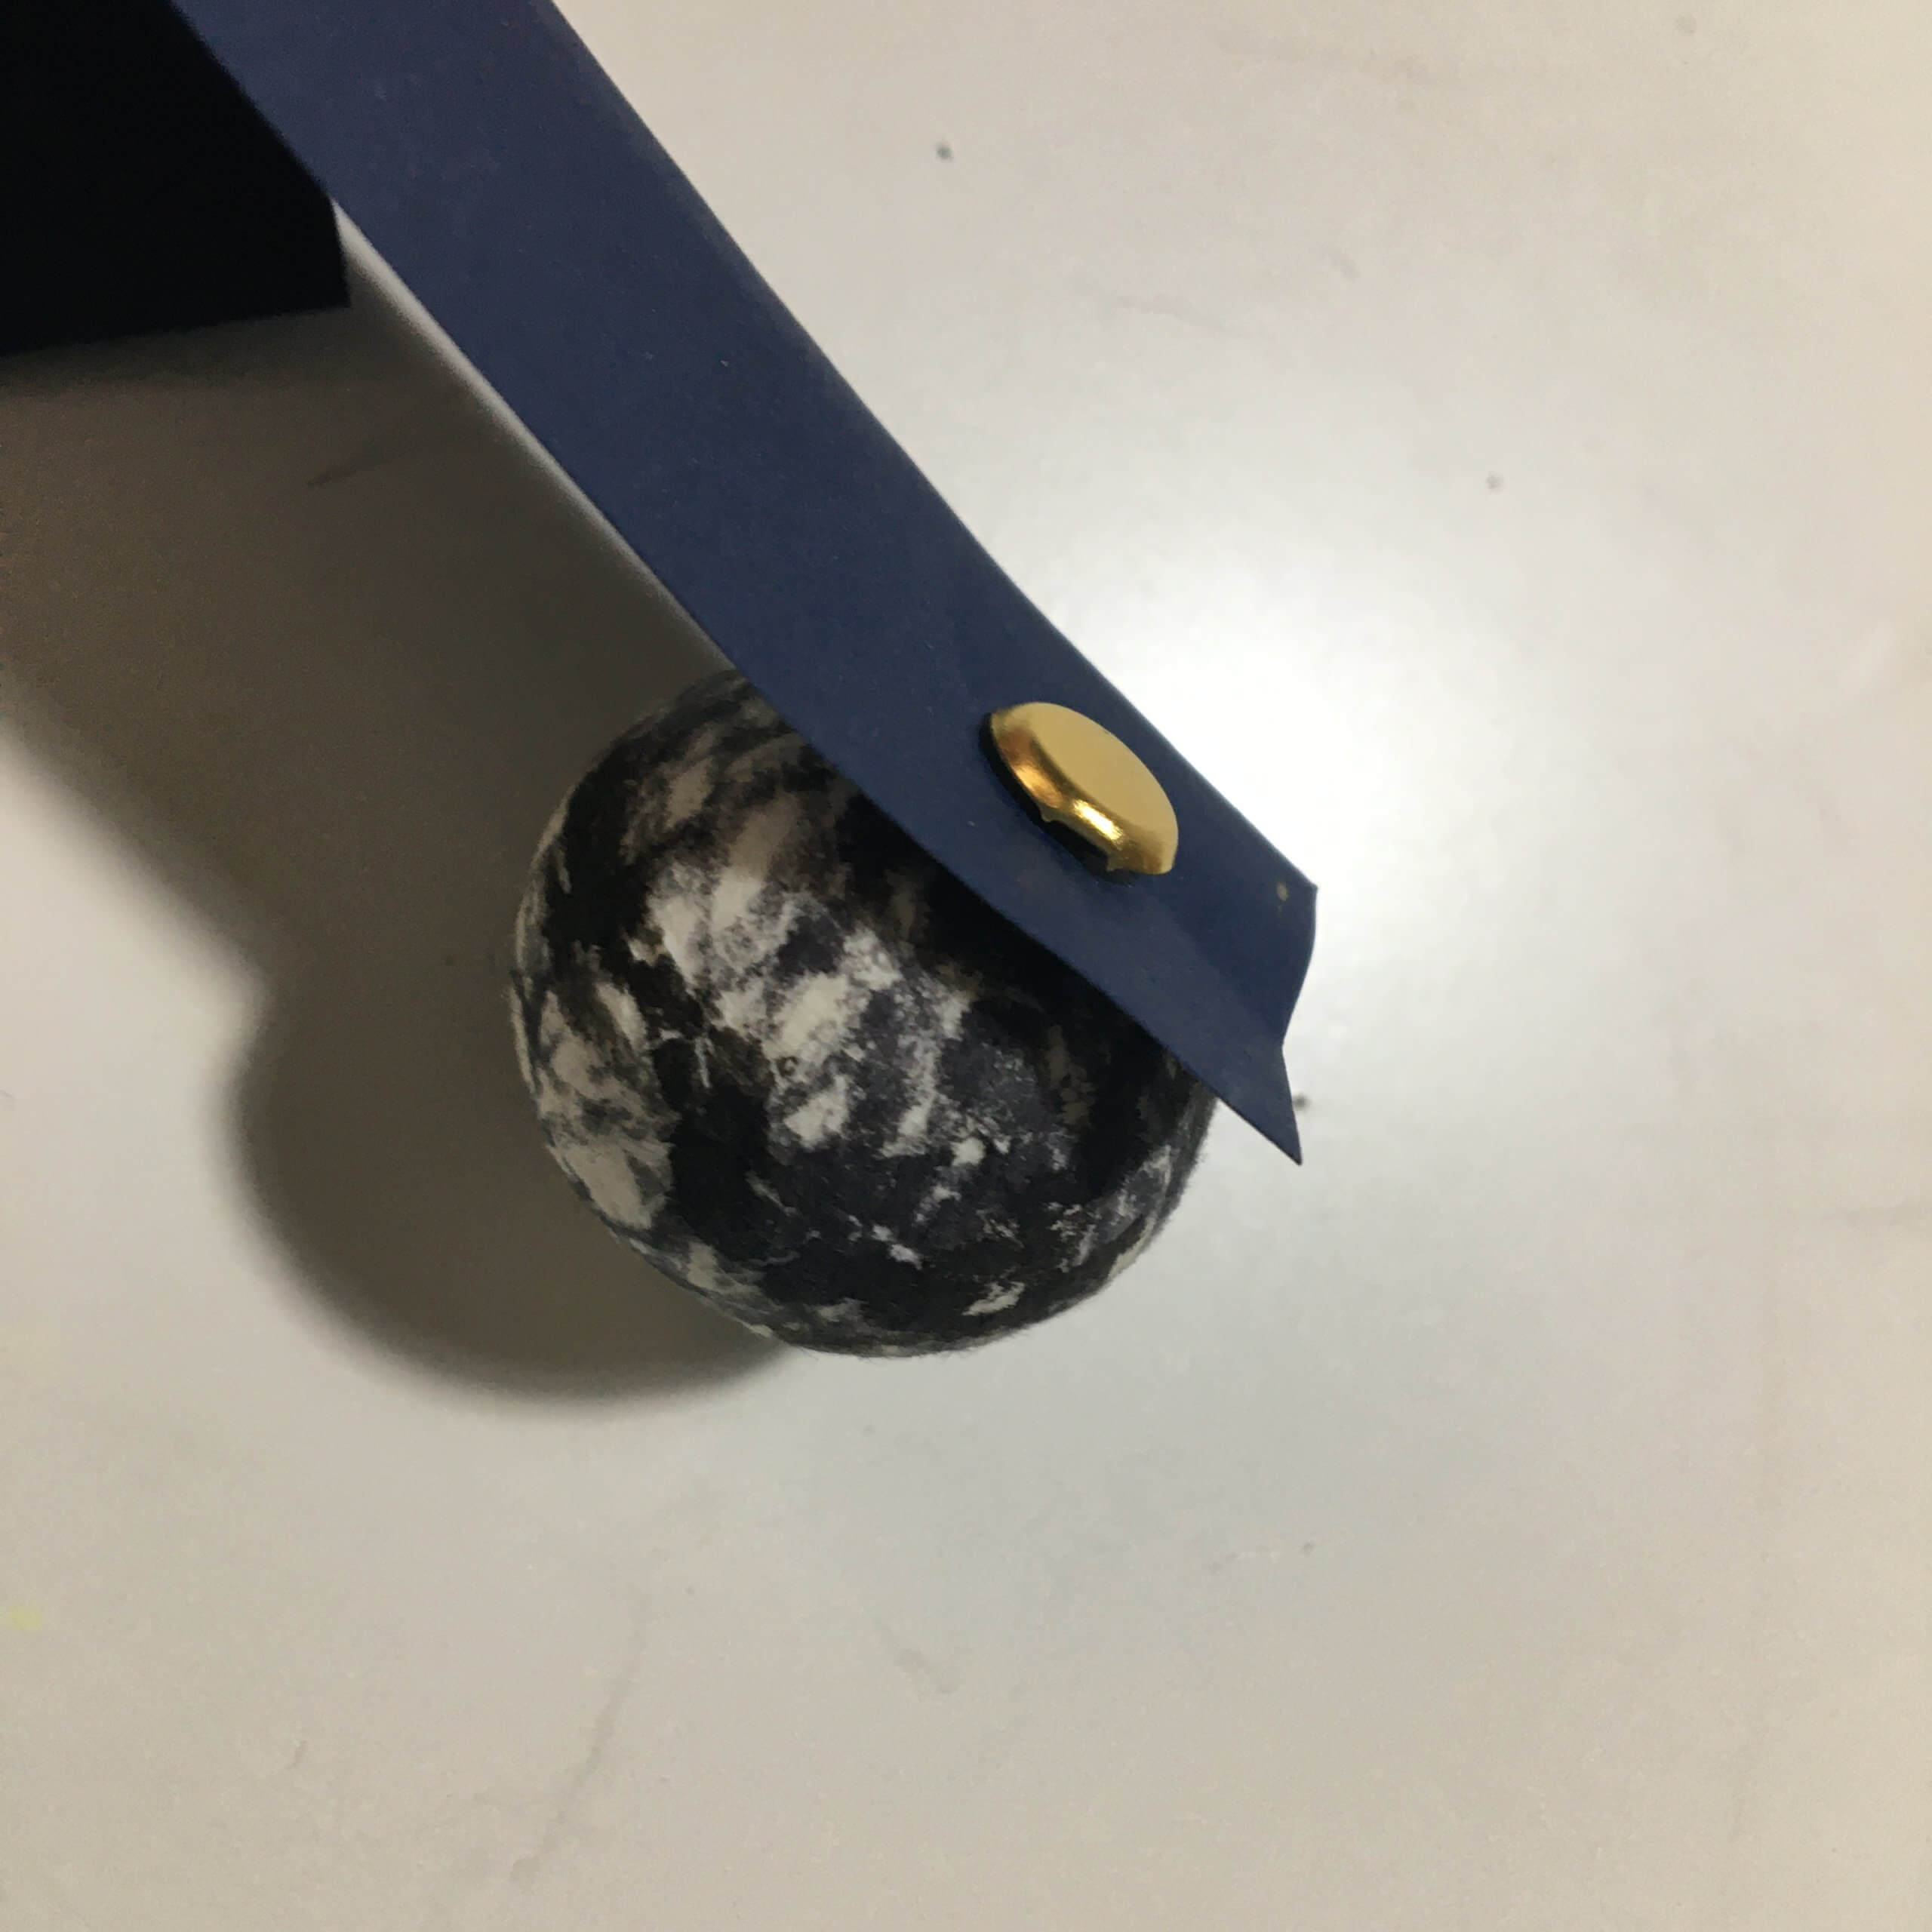
Step Four - Get those planets ready for orbit
Attach the planets to the strips of card
Making sure the shortest is used for mercury (nearest the sun) then second shortest Venus and so on until the longest is used for Neptune (furthest from the Sun)
Attach each planet by pushing the split pin up though the card and then into the ball (tip if your planet looks like it going to fall out of orbit a double side sticky tab will secure it)
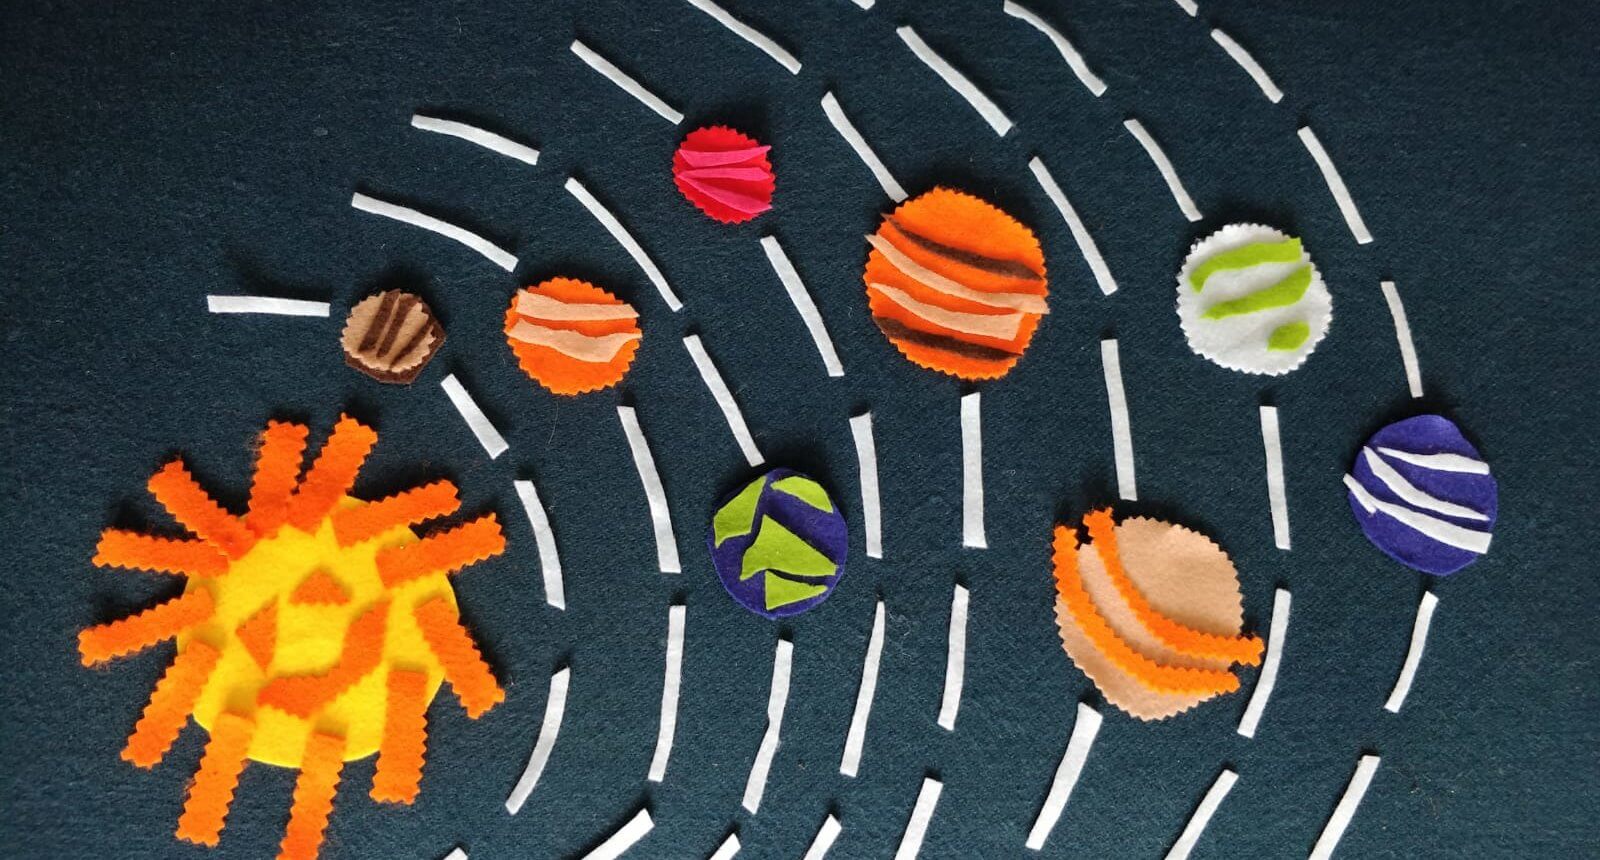
Step Five - Put it all Together!
Make a couple of cardboard washers from scrap cardboard smaller than the sun (these will help the planets rotate)
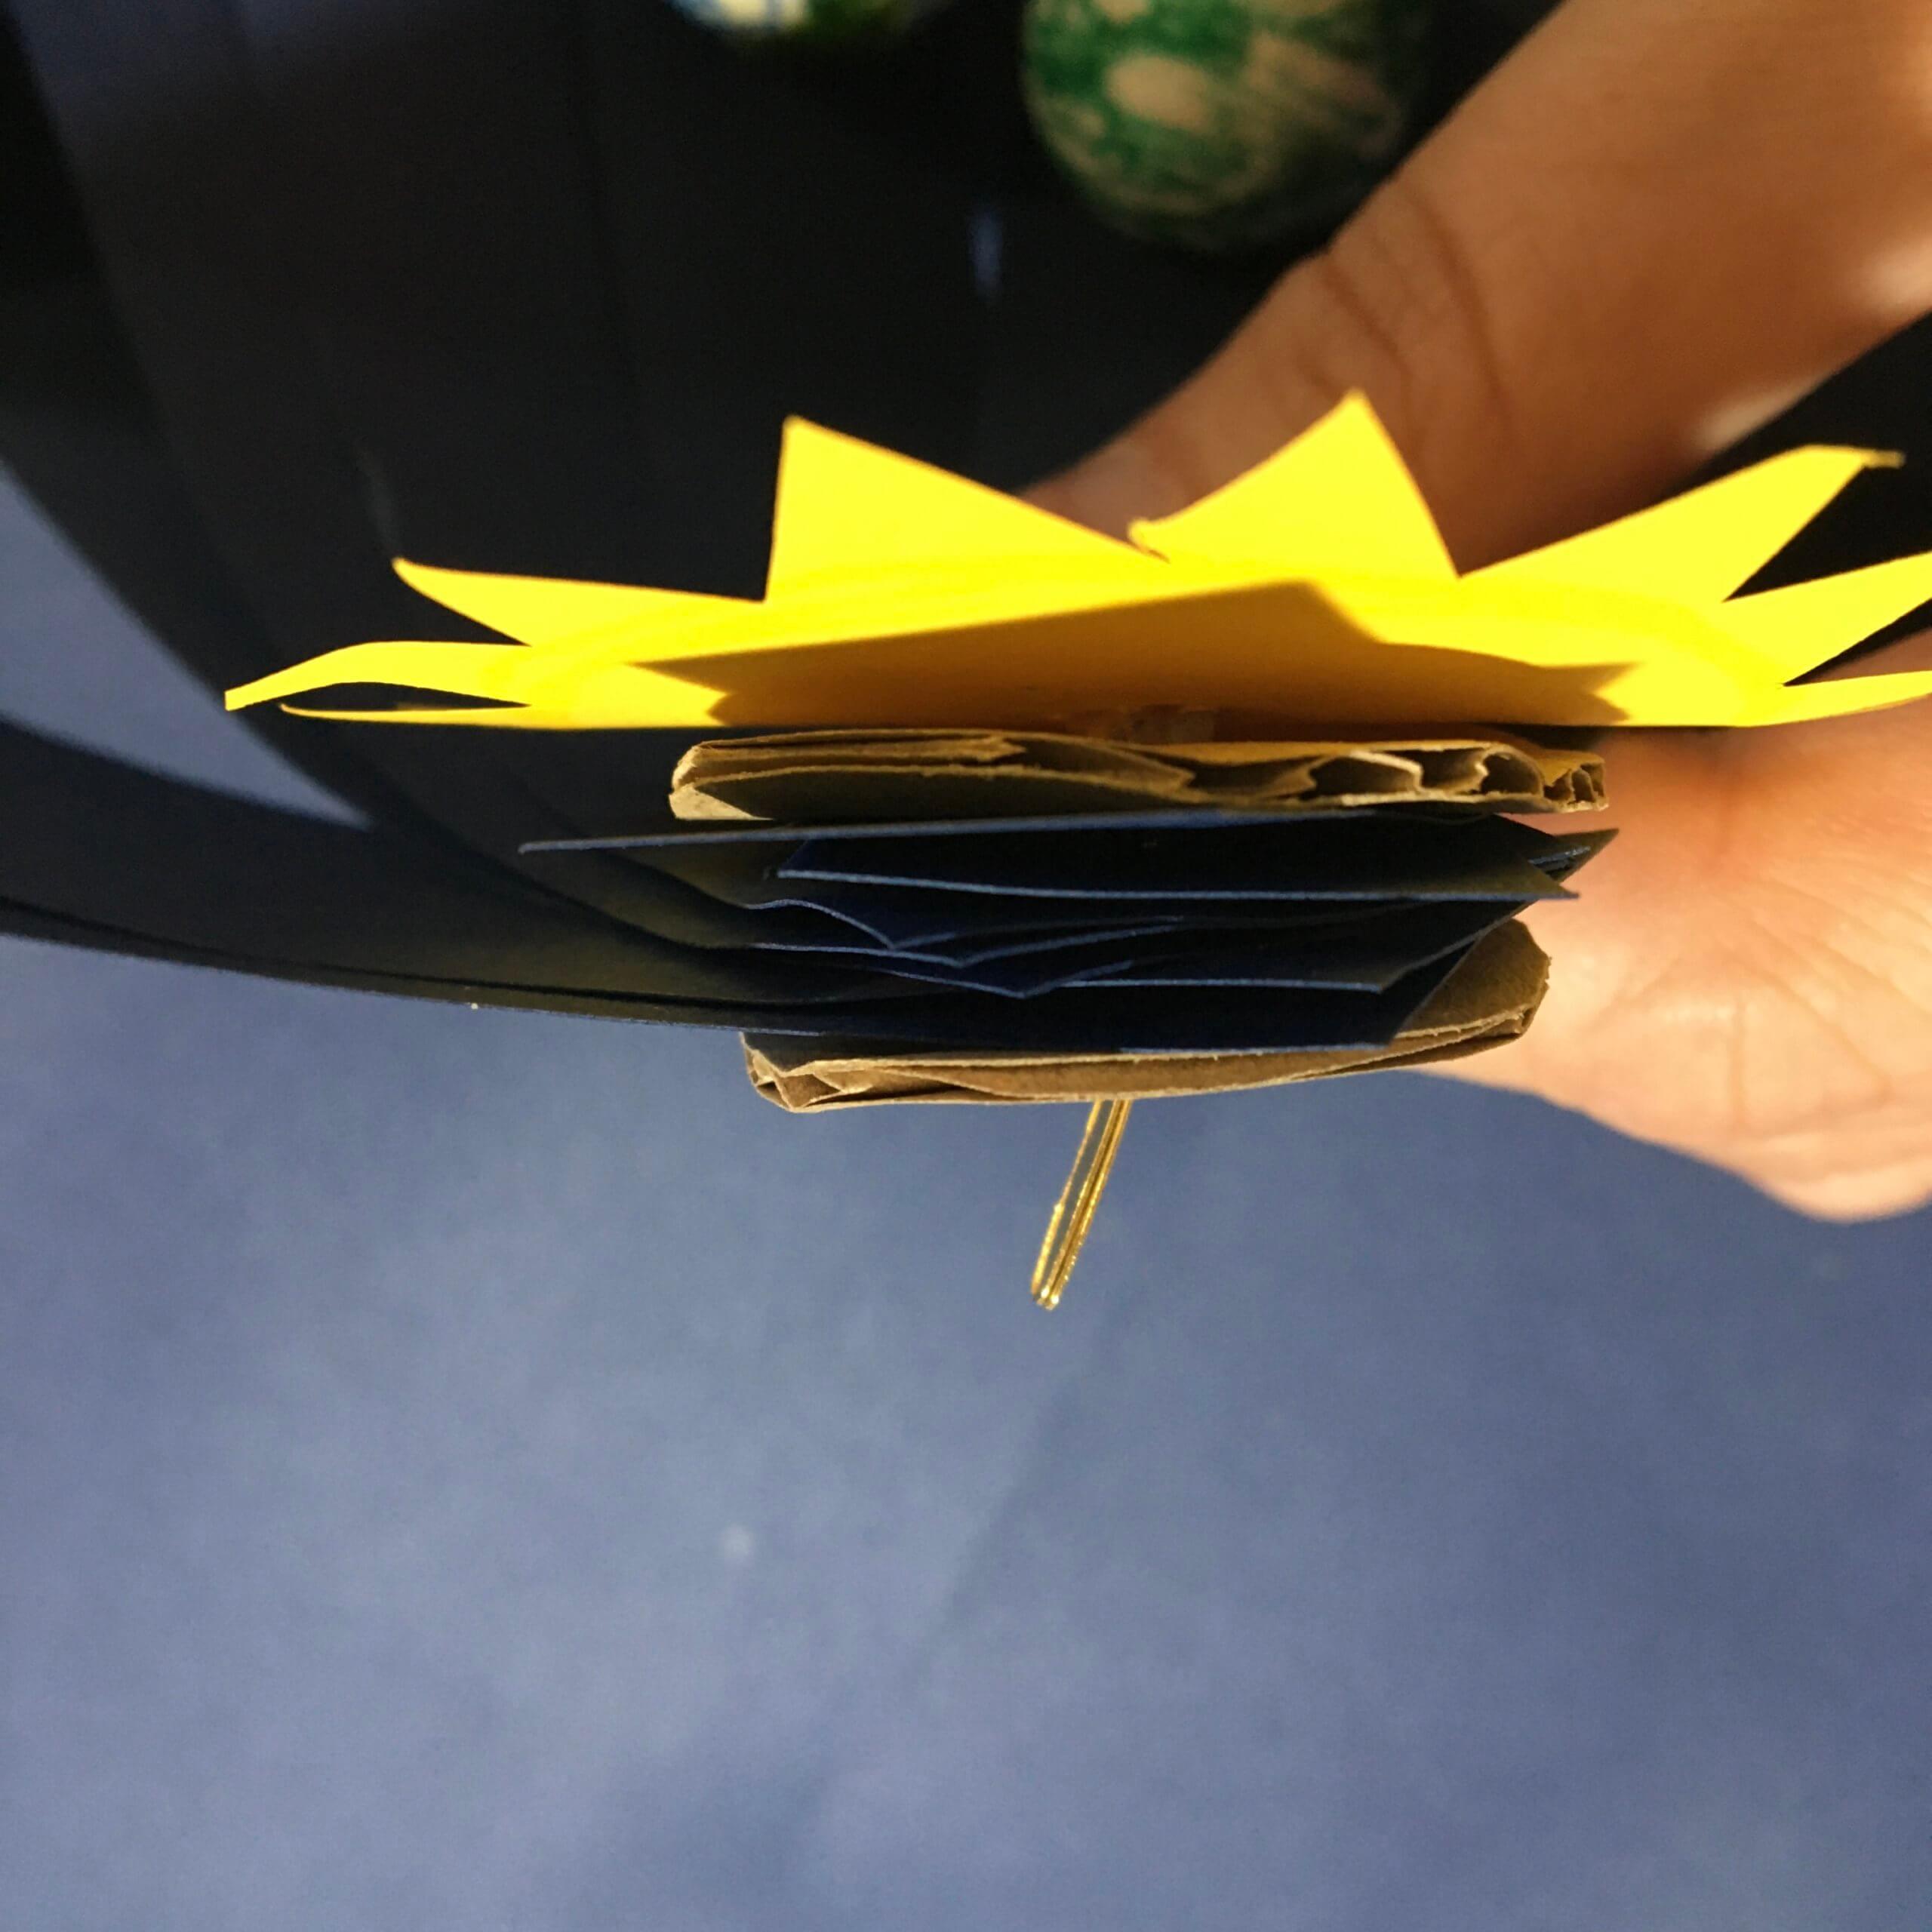
With a long split pin push it though the sun one of your cardboard washers all eight strips of card attached to the planets another washer and then your back ground before bending the pics back
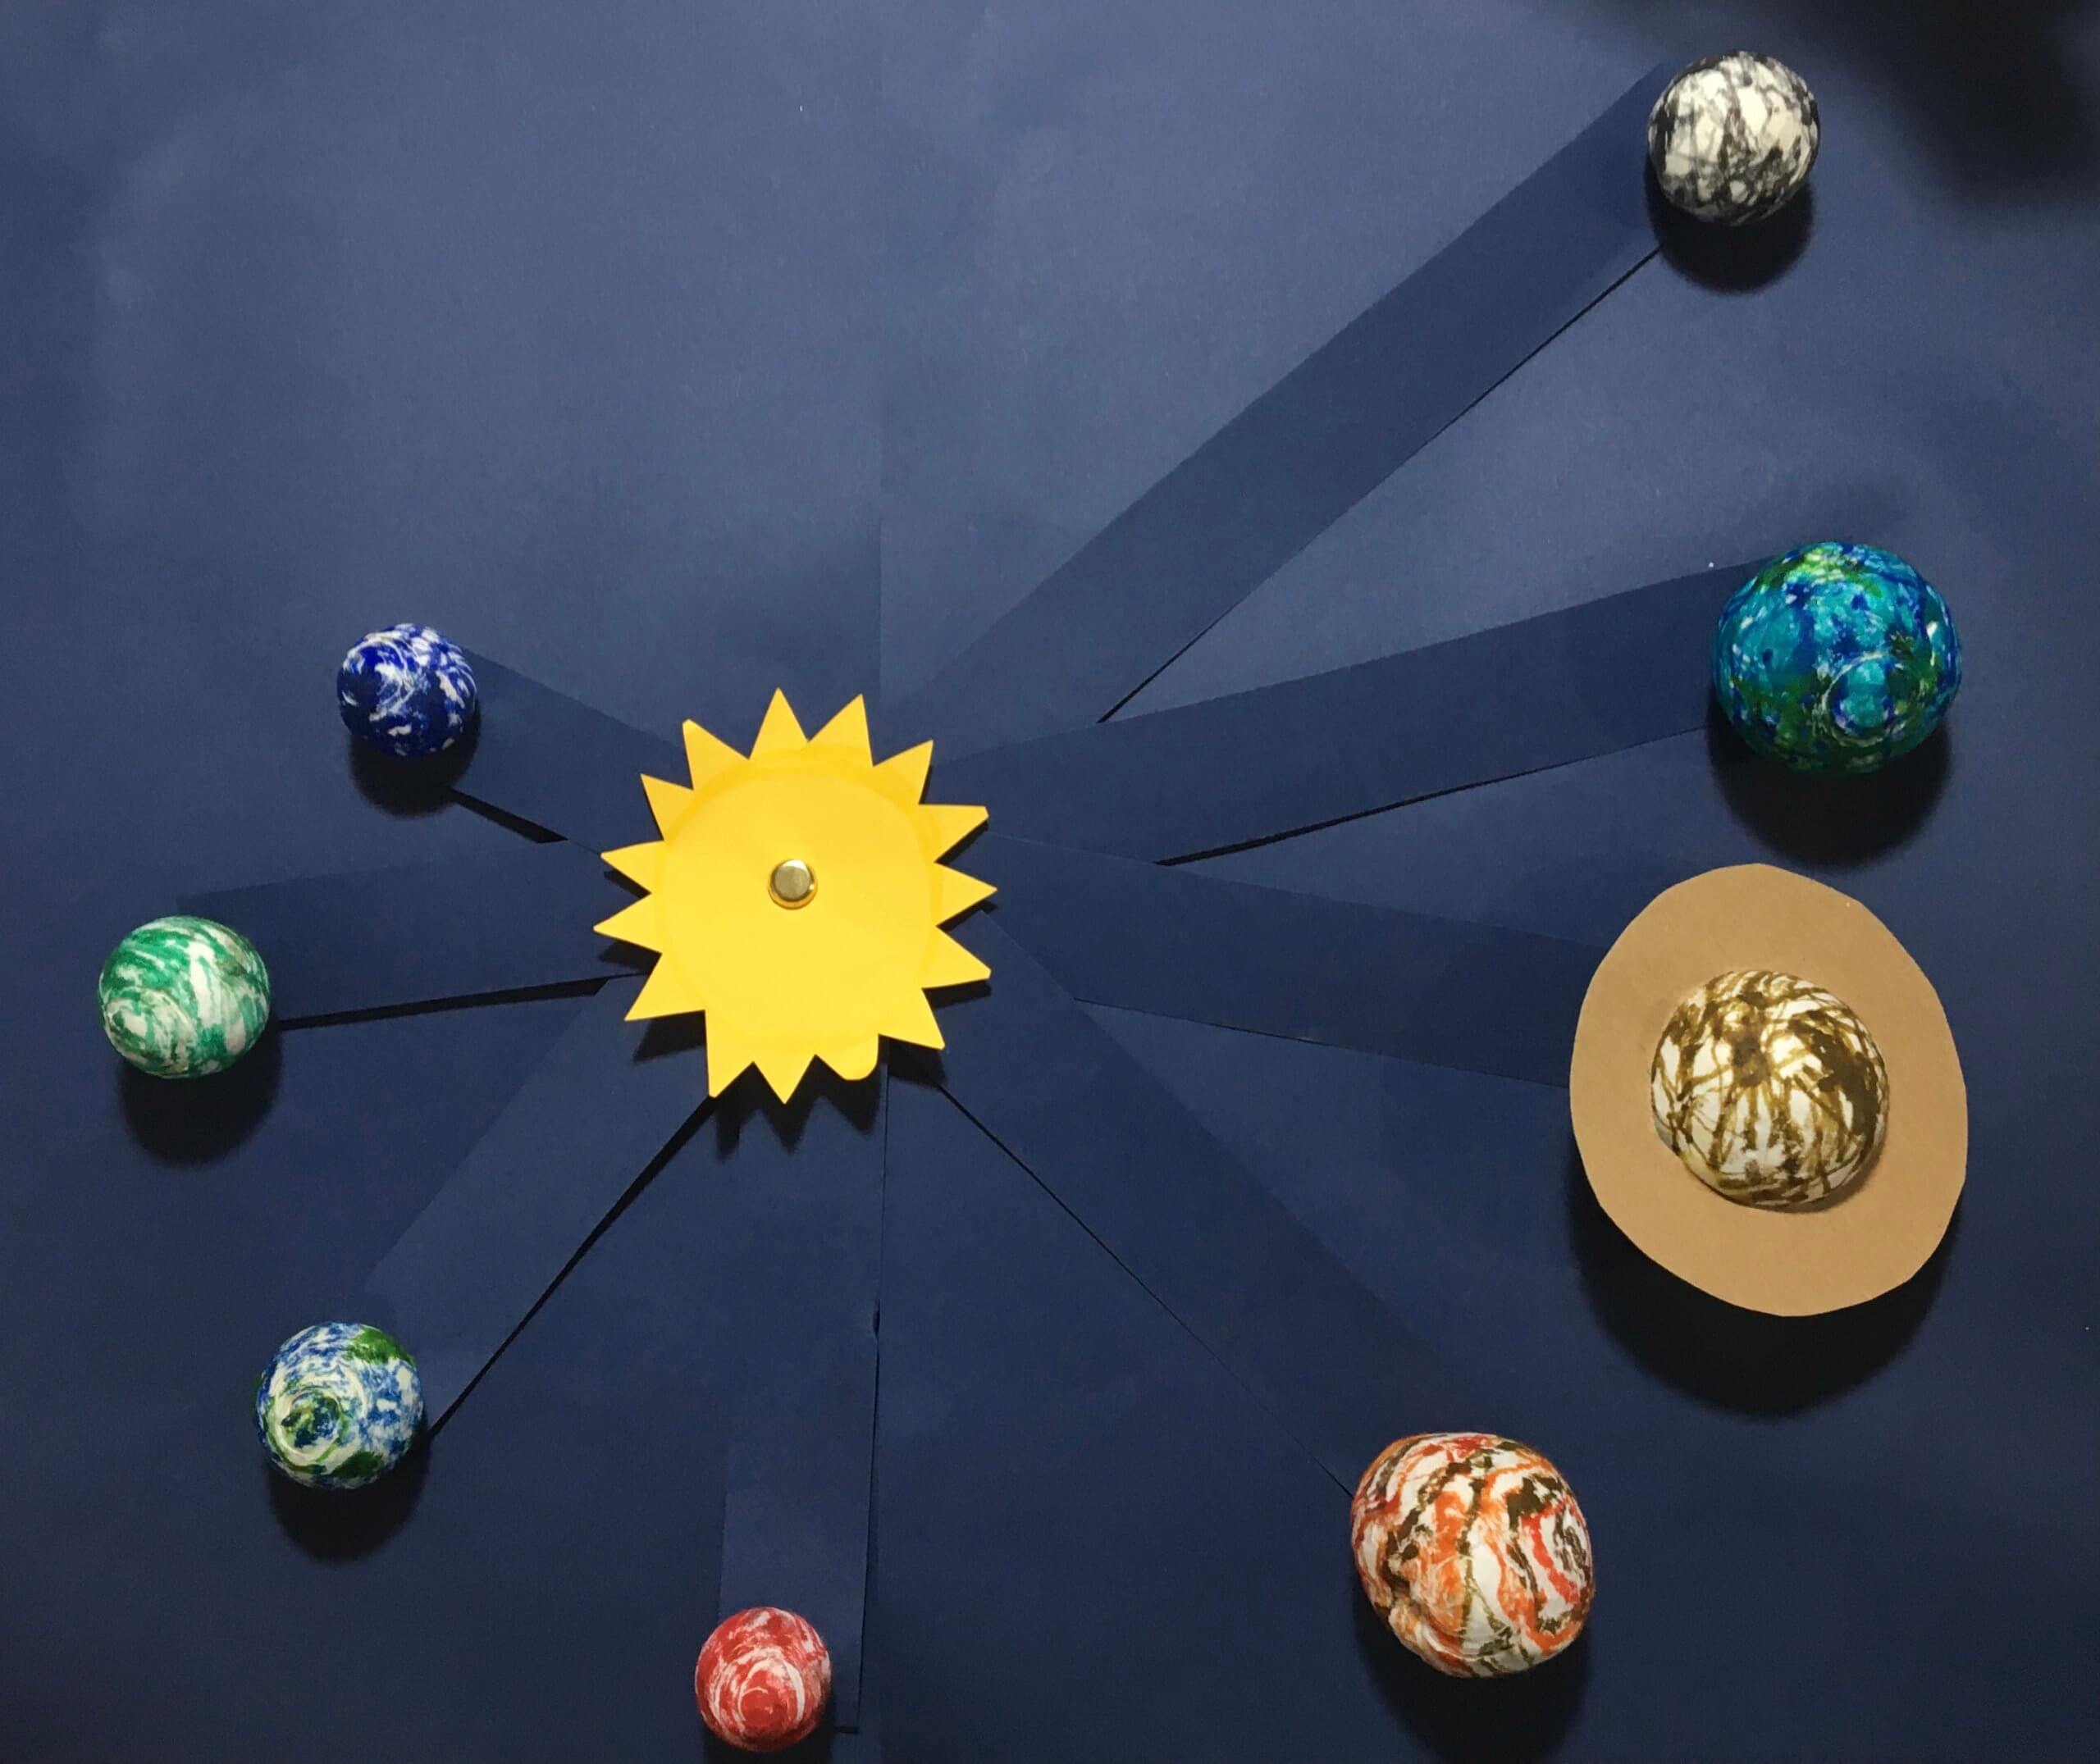
Finished!